Introduction
A simple guide (and example of configuration) to install i3 and its and essentials packages and make them look eye candy,
or at least make them not ugly
Example configuration in this repo is pretty simple, minimal, and easy to be understood, without reducing the usability. Only contains about 140 lines of i3 configuration, pretty stock without any custom script, custom packages, and custom patch. This is my daily i3 configuration by the way. And this configuration only use packages that available on most Distros main repository. So You don't need AUR, PPA, xbps-src, or sudo make install.
I'm using Debian, with i3 stock metapackages (i3wm, i3bar, i3status, i3lock, i3-sensible-terminal, and i3-dmenu-desktop), so does this guide.
Hence I name this repo i3-starterpack.
So, the installation guide here will use Debian command & package name.
Preview
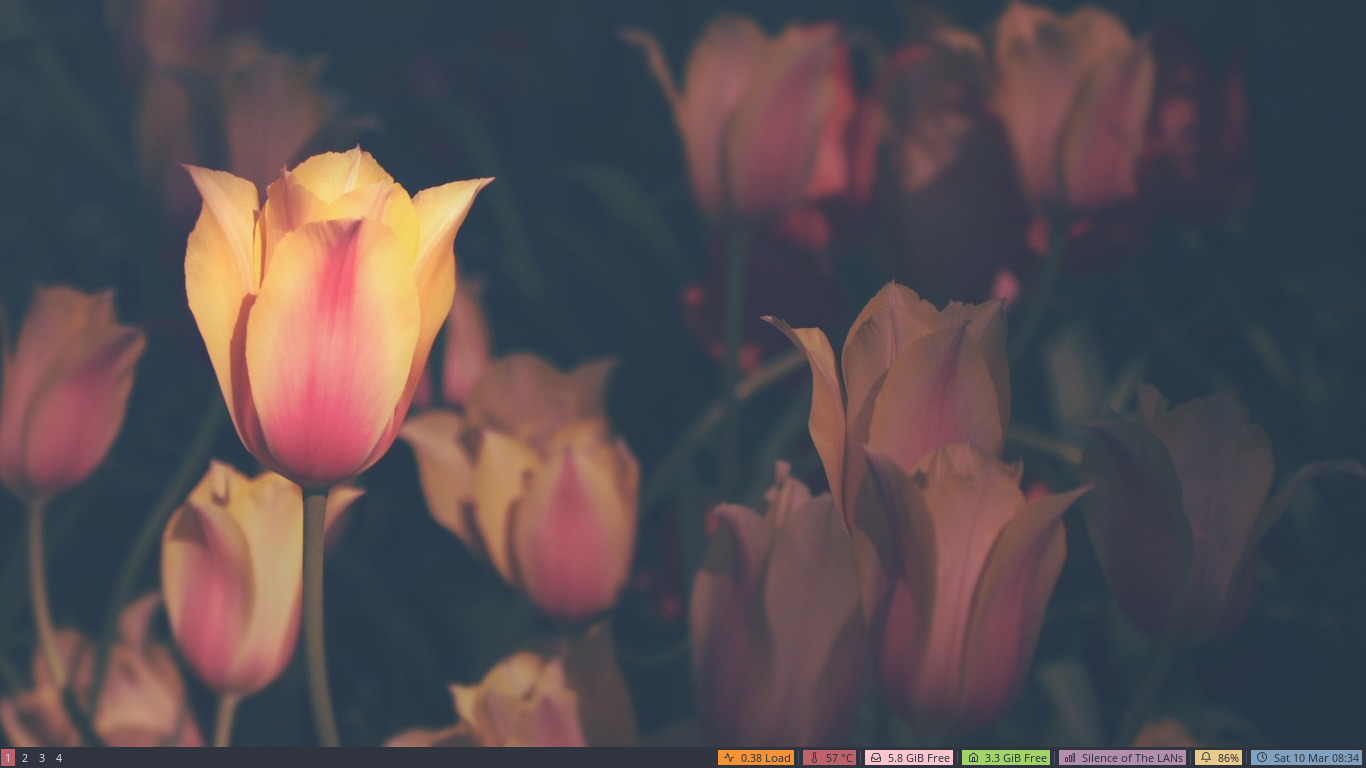
Clean, without any opened app. Only i3bar is visible.
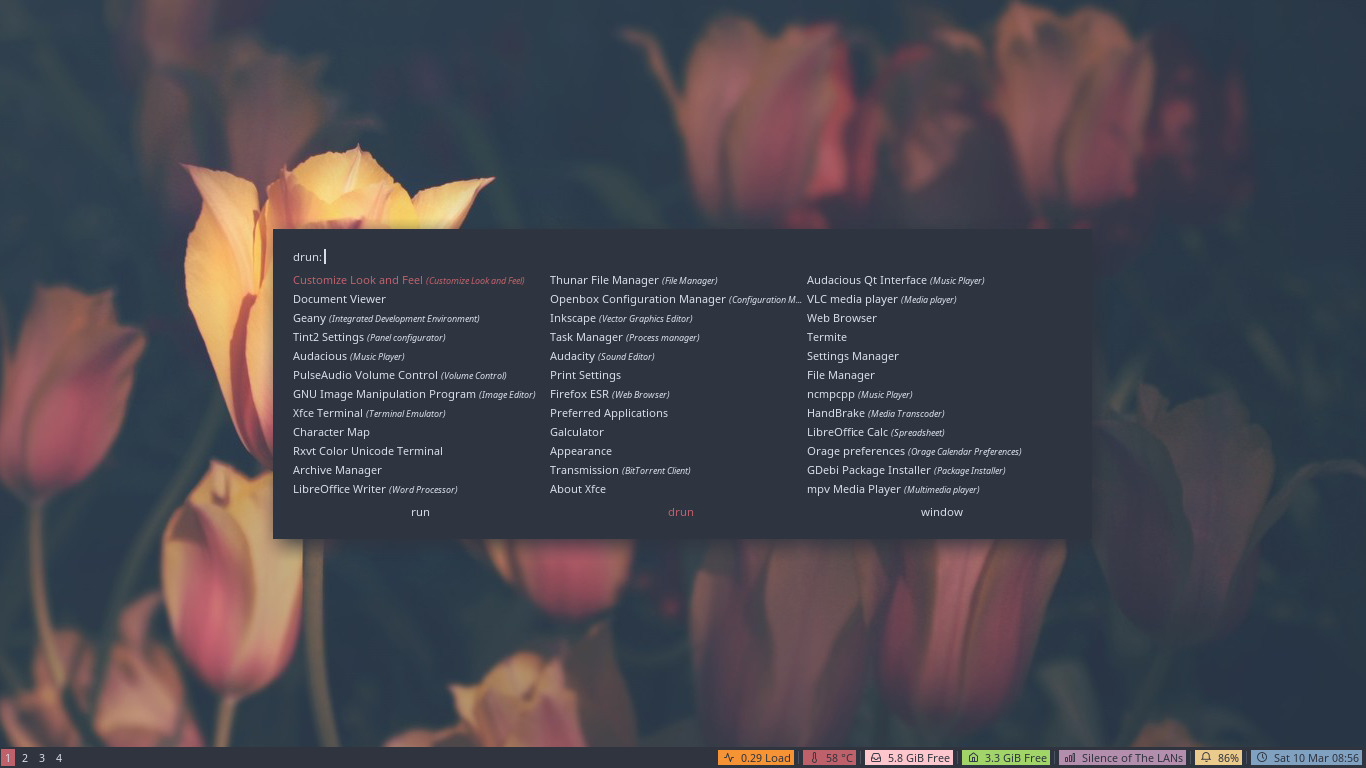
Rofi, my favourite dmenu alternative for launching apps.
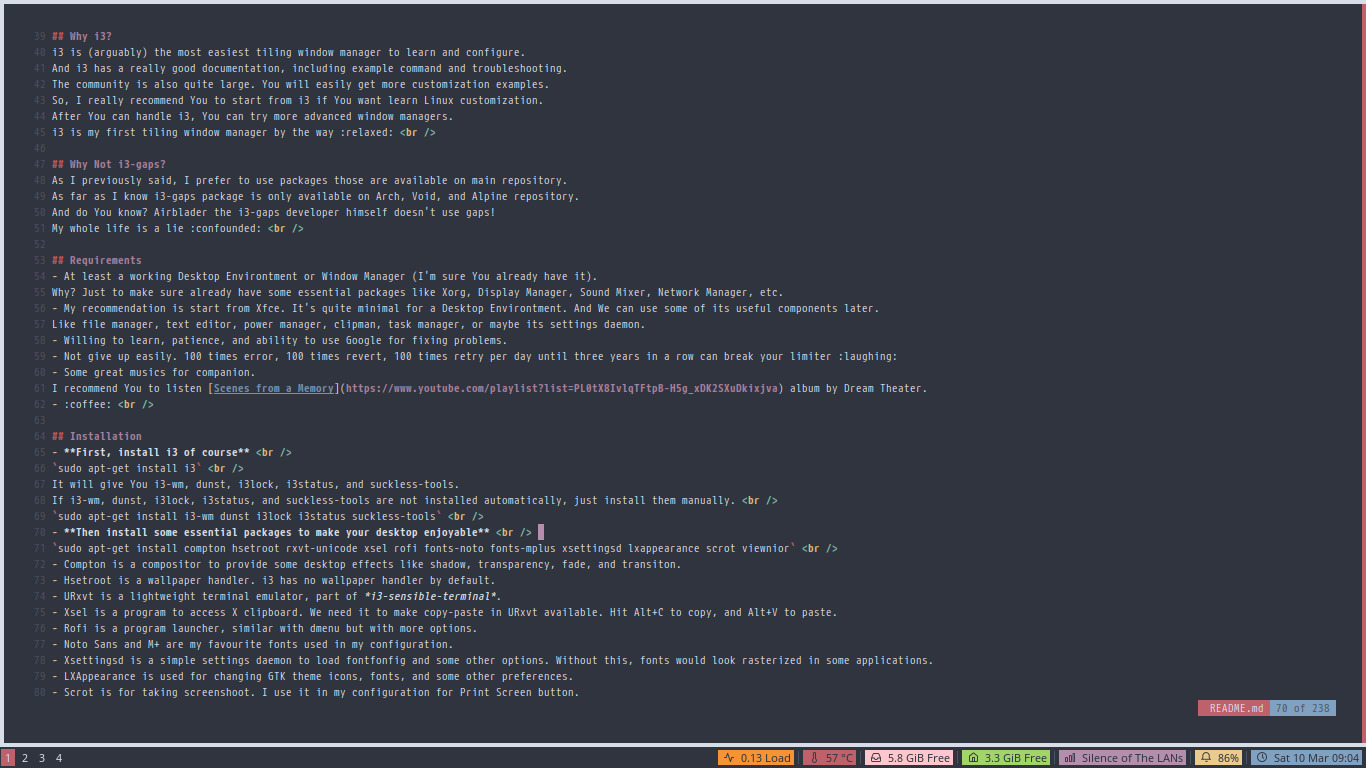
Fullscreen, when I write this guide using Vim inside URxvt. Vanilla i3, so has no gaps.
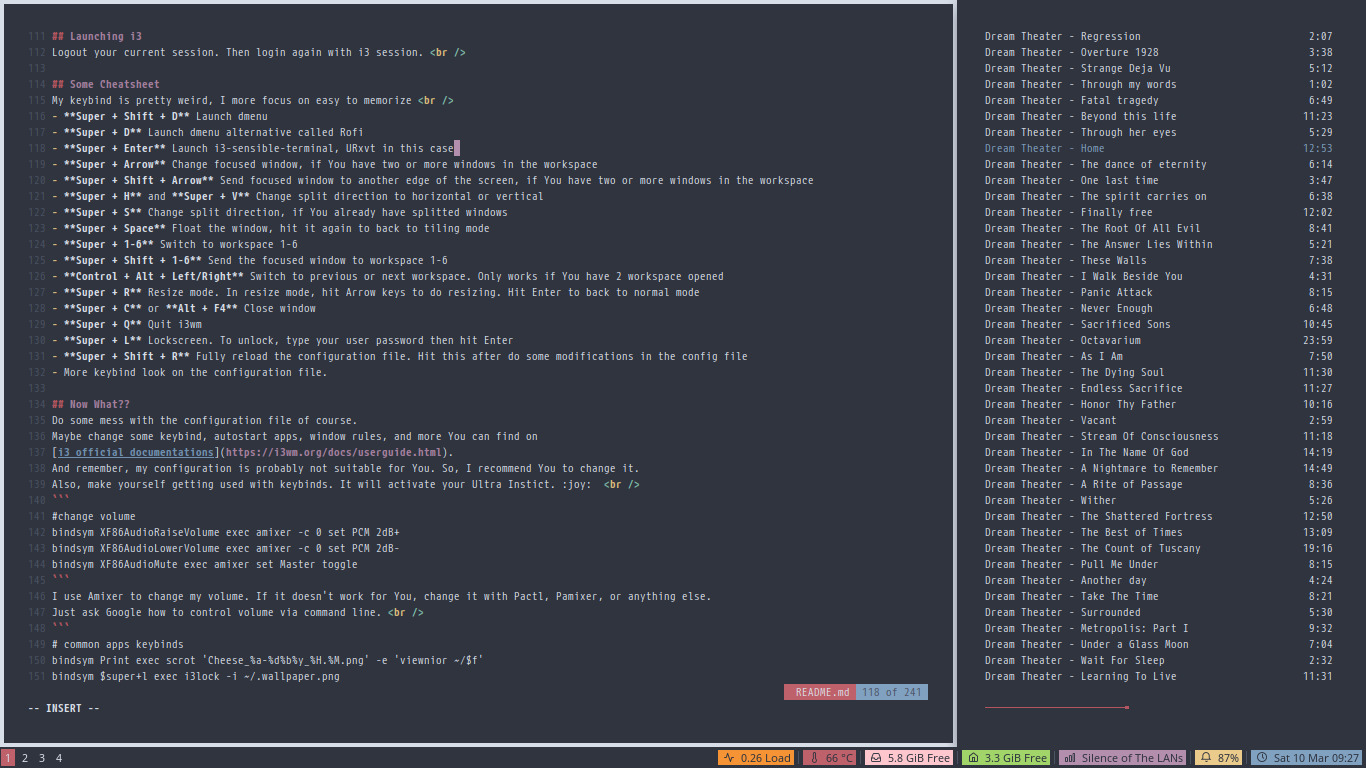
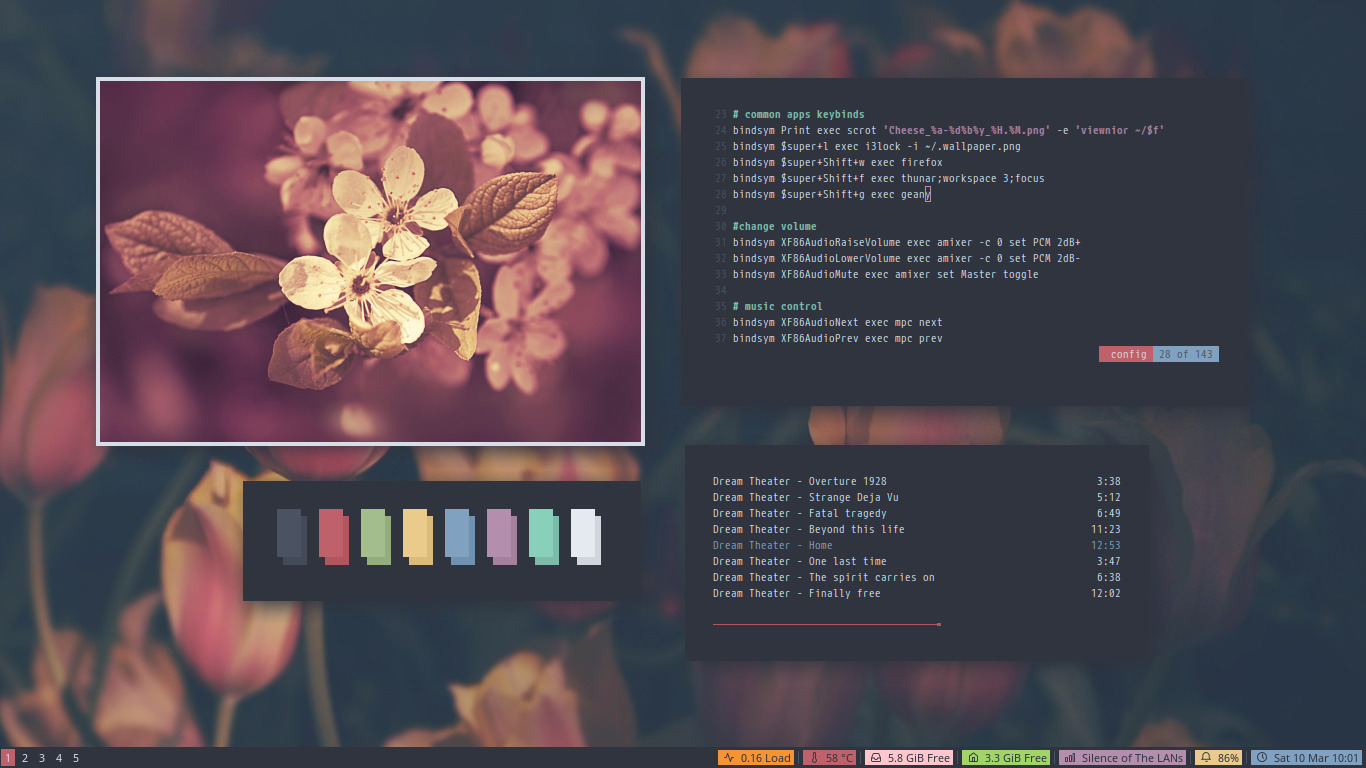
Splitscreen, I open ncmpcpp music player on the right.
Disclaimer
I'm not a Pro. I just started learning Linux one year ago. And I'm not an IT guy. So, probably this guide will have some mistakes.
I hope You would correct me instead of insult me
Reason
I've got frequently questioned, "How to make my desktop looks like yours?".
I don't know why they ask it to me, my desktop doesn't even look nice.
So, I only answer "What DE do You use? Have You tried window manager? You can use Google to find some guide".
And the frequent reply..
- "I have been following the guide I found, but my desktop still doesn't like yours".
Different level of reply..
- "I don't know what is my DE. It's default on my Parrot Security."
- "DE? What is DE? Btw, I use Kali Linux. Have You watched Mr.Robot?"
And my other reason writing this guide is, most of i3 guides I found on internet are just to install i3 and make it usable only.
Not how to de-uglify it
Why i3?
i3 is (arguably) the most easiest tiling window manager to learn and configure.
And i3 has a really good documentation, including example command and troubleshooting.
The community is also quite large. You will easily get more customization examples.
So, I really recommend You to start from i3 if You want learn Linux customization.
After You can handle i3, You can try more advanced window managers.
i3 is my first tiling window manager by the way
Why Not i3-gaps?
As I previously said, I prefer to use packages those are available on main repository.
As far as I know i3-gaps package is only available on Arch, Void, Solus, and Alpine repository.
And do You know? Airblader the i3-gaps developer himself doesn't use gaps!
My whole life is a lie
Requirements
- At least a working Desktop Environtment or Window Manager (I'm sure You already have it). Why? Just to make sure already have some essential packages like Xorg, Display Manager, Sound Mixer, Network Manager, etc.
- My recommendation is start from Xfce. It's quite minimal for a Desktop Environtment. And We can use some of its useful components later. Like file manager, text editor, power manager, clipman, task manager, or maybe its settings daemon.
- Willing to learn, patience, and ability to use Google for fixing problems.
- Not give up easily. 100 times error, 100 times revert, 100 times retry every single day until three years in a row can break your limiter
😆 - Some great musics for companion. I recommend You to listen Scenes from a Memory album by Dream Theater.
☕
Installation
-
First, install i3 of course
sudo apt-get install i3
It will give You i3-wm, dunst, i3lock, i3status, and suckless-tools. If i3-wm, dunst, i3lock, i3status, and suckless-tools are not installed automatically, just install them manually.
sudo apt-get install i3-wm dunst i3lock i3status suckless-tools -
Then install some additional packages to make your desktop enjoyable
sudo apt-get install compton hsetroot rxvt-unicode xsel rofi fonts-noto fonts-mplus xsettingsd lxappearance scrot viewnior
Explanations of Additional Packages
- Compton is a compositor to provide some desktop effects like shadow, transparency, fade, and transiton.
- Hsetroot is a wallpaper handler. i3 has no wallpaper handler by default.
- URxvt is a lightweight terminal emulator, part of i3-sensible-terminal.
- Xsel is a program to access X clipboard. We need it to make copy-paste in URxvt available. Hit Alt+C to copy, and Alt+V to paste.
- Rofi is a program launcher, similar with dmenu but with more options.
- Noto Sans and M+ are my favourite fonts used in my configuration.
- Xsettingsd is a simple settings daemon to load fontconfig and some other options. Without this, fonts would look rasterized in some applications.
- LXAppearance is used for changing GTK theme icons, fonts, and some other preferences.
- Scrot is for taking screenshoot. I use it in my configuration for Print Screen button.
I set my Print Screen button to take screenshoot using scrot, then automatically open it using Viewnior image viewer.
Copying Configurations
git clone https://github.com/addy-dclxvi/i3-starterpack.git
Or if You don't have git package installed, and have no willing to install it.
Just use download as zip button on the top-right of this page, then extract it.
After that, Open i3-starterpack folder. Then copy the configurations to your home.
I mean if it's on i3-starterpack/.config/i3/config, copy it to ~/.config/i3/.
If the folder doesn't exist on your home, just make it.
Do the same with all of the files inside i3-starterpack folder.
My dotfiles contains font, so refresh your fontconfig cache fc-cache -fv after You copy the font.
Note : You can deploy this repository recursively using
git clone https://github.com/addy-dclxvi/i3-starterpack.git && cp -a i3-starterpack/. ~
but I recommend You to copy the configuration files one by one to make yourself have more control.
Inspect and Edit The Configurations Files
- ~/.config/i3/config
This is the main configuration file of i3 window manager. Contains keybinding, autostart, colors, and window rules. I suggest You to leave it default for now. I will explain it later. - ~/.config/i3status/config

This is the statusline configuration for i3bar, bottom right part of i3bar. I set it to load many module by default. It looks like christmast tree. So, I suggest You to disable some module You don't need.
order += "load"
order += "cpu_temperature 0"
#order += "disk /"
#order += "disk /home"
#order += "ethernet enp1s0"
order += "wireless wlp2s0"
order += "volume master"
#order += "battery 1"
order += "tztime local"
You can comment out the module You want to disable. For example I disable the disk, ethernet, and battery.
Then now You have to configure the variable. Don't forget to change both in order list and in function list.
Update 31 July 2018 : And remember, i3status supports Pango Markup. Not many customization options, but still interesting.
Here is my current i3status customization (I remove the lines I don't use instead comment them out).
general {
output_format = "i3bar"
colors = false
markup = pango
interval = 1
}
order += "cpu_temperature 0"
order += "load"
order += "disk /"
order += "wireless wlp2s0"
order += "volume master"
order += "tztime local"
cpu_temperature 0 {
format = "<span background='#ff5555'> </span><span background='#e5e9f0'> %degrees °C </span>"
path = "/sys/class/thermal/thermal_zone0/temp"
}
load {
format = "<span background='#50fa7b'> </span><span background='#e5e9f0'> %5min Load </span>"
}
disk "/" {
format = "<span background='#f1fa8c'> </span><span background='#e5e9f0'> %free Free </span>"
}
wireless wlp2s0 {
format_up = "<span background='#bd93f9'> </span><span background='#e5e9f0'> %essid </span>"
format_down = "<span background='#bd93f9'> </span><span background='#e5e9f0'> Disconnected </span>"
}
volume master {
format = "<span background='#ff79c6'> </span><span background='#e5e9f0'> %volume </span>"
format_muted = "<span background='#ff79c6'> </span><span background='#e5e9f0'> Muted </span>"
device = "default"
mixer = "Master"
mixer_idx = 0
}
tztime local {
format = "<span background='#8be9fd'> </span><span background='#e5e9f0'> %time </span>"
format_time = "%a %-d %b %H:%M"
}
i3status Variables
- My wireless interface is wlp2s0 and my ethernet adapter is enp1s0, You can find yours by
/sbin/iwconfigoriwconfigcommand. - My battery id is BAT1, You can find yours by
ls /sys/class/power_supply/command. - My volume mixer is Alsa, probably also work for You. If not, You can see the manual page to configure PulseAudio.
- To use CPU temperature, You need your CPU temperature path.
If
/sys/class/thermal/thermal_zone0/tempdoesn't work try/sys/devices/platform/coretemp.0/temp1_input. Still doesn't work? Ask Google😋 - You can add more module, just read the manual page
man i3status.
Launching i3
Logout your current session. Then login again with i3 session.
Some Cheatsheet
My keybind is pretty weird, I'm more focus on easy to memorize
- Super + Shift + D Launch dmenu
- Super + D Launch dmenu alternative called Rofi
- Super + Enter Launch i3-sensible-terminal, URxvt in this case
- Super + Arrow Change focused window, if You have two or more windows in the workspace
- Super + Shift + Arrow Send focused window to another edge of the screen, if You have two or more windows in the workspace
- Super + H and Super + V Change split direction to horizontal or vertical
- Super + S Change split direction, if You already have splitted windows
- Super + Space Float the window, hit it again to back to tiling mode
- Super + 1-6 Switch to workspace 1-6
- Super + Shift + 1-6 Send the focused window to workspace 1-6
- Control + Alt + Left/Right Switch to previous or next workspace. Only works if You have 2 workspace opened
- Super + R Resize mode. In resize mode, hit Arrow keys to do resizing. Hit Enter to back to normal mode
- Super + C or Alt + F4 Close window
- Super + Q Quit i3wm
- Super + L Lockscreen. To unlock, type your user password then hit Enter
- Super + Shift + R Fully reload the configuration file. Hit this after do some modifications in the config file
- More keybind look on the configuration file.
Now What??
Do some mess with the configuration file of course.
Maybe change some keybind, autostart apps, window rules, and more You can find on
i3 official documentations.
And remember, my configuration is probably not suitable for You. So, I recommend You to change it.
Also, make yourself getting used with keybinds. It will activate your Ultra Instict.
#change volume
bindsym XF86AudioRaiseVolume exec amixer -q set Master 5%+
bindsym XF86AudioLowerVolume exec amixer -q set Master 5%+
bindsym XF86AudioMute exec amixer set Master toggle
I use Amixer to change my volume. If it doesn't work for You, change it with Pactl, Pamixer, or anything else.
Just ask Google how to control volume via command line.
# common apps keybinds
bindsym Print exec scrot 'Cheese_%a-%d%b%y_%H.%M.png' -e 'viewnior ~/$f'
bindsym $super+l exec i3lock -i ~/.wallpaper.png
bindsym $super+Shift+w exec firefox
bindsym $super+Shift+f exec thunar;workspace 3;focus
bindsym $super+Shift+g exec geany
I set keybind to launch my frequently used apps, you can remove what You don't need.
And add what do You need. Note : i3lock need png image
# music control
bindsym XF86AudioNext exec mpc next
bindsym XF86AudioPrev exec mpc prev
bindsym XF86AudioPlay exec mpc toggle
bindsym XF86AudioStop exec mpc stop
I use Mpd for music daemon, control it using Mpc, and use ncmpcpp music player as frontend.
If You are not using it, I recommend You to remove it.
Because it has a chance to intercept your music player global keybind hotkeys.
Or maybe You can try playerctl. It's the common way to control media, and supported by a lot of popular media player.
#autostart
exec --no-startup-id hsetroot -center ~/.wallpaper.png
exec --no-startup-id xsettingsd &
exec --no-startup-id compton -b
Maybe You want to add some programs to your autostart, like network manager applet, clipboard manager, power manager, conky, and some goodies.
Probably your network manager applet is nm-applet. So, if want to use it, add exec --no-startup-id nm-applet.
It will be loaded on next login. I don't put it on my autostart, because usually I only launch it from terminal when I want to switch SSID.
And if You come from Xfce maybe You want use its setting daemon.
Replace exec --no-startup-id xsettingsd & with exec --no-startup-id xfsettingsd &.
You will have some Xfce advantage, like mouse settings, appearance settings (LXAppearance will be overiden by this),
font settings, and some other advantage. But it will cost a thing, slightly reduce the performance.
# window rules, you can find the window class using xprop
for_window [class=".*"] border pixel 4
assign [class=URxvt] 1
assign [class=Firefox|Transmission-gtk] 2
assign [class=Thunar|File-roller] 3
assign [class=Geany|Evince|Gucharmap|Soffice|libreoffice*] 4
assign [class=Audacity|Vlc|mpv|Ghb|Xfburn|Gimp*|Inkscape] 5
assign [class=Lxappearance|System-config-printer.py|Lxtask|GParted|Pavucontrol|Exo-helper*|Lxrandr|Arandr] 6
for_window [class=Viewnior|feh|Audacious|File-roller|Lxappearance|Lxtask|Pavucontrol] floating enable
for_window [class=URxvt|Firefox|Geany|Evince|Soffice|libreoffice*|mpv|Ghb|Xfburn|Gimp*|Inkscape|Vlc|Lxappearance|Audacity] focus
for_window [class=Xfburn|GParted|System-config-printer.py|Lxtask|Pavucontrol|Exo-helper*|Lxrandr|Arandr] focus
That's my window rules. I use it to group apps on several workspace.
- Workspace 1 for Terminals
- Workspace 2 for Web
- Workspace 3 for File Manager
- Workspace 4 for Office
- Workspace 5 for Multimedia
- Workspace 6 for Settings
And I set some apps to launch in floating mode. You can make your own rules of course.
Maybe my window rules isn't efficient for You. My workspaces are only six, and it's more than enough for me.
# panel
bar {
    colors {
    background #2f343f
    statusline #2f343f
    separator #4b5262

    # colour of border, background, and text
    focused_workspace   #2f343f #bf616a #d8dee8
    active_workspace    #2f343f #2f343f #d8dee8
    inactive_workspace  #2f343f #2f343f #d8dee8
    urgent_workspace    #2f343f #ebcb8b #2f343f
    }
    status_command i3status
}
That's my panel colour. I set it has a black background, with white color for workspace name.
Active workspace is highlighted by red colour, and urgent workspace will be highlighted with yellow colour.
If one of your workspaces is highlighted with yellow colour, it means that workspace needs an attention.
You can modify it by yourself of course.
# colour of border, background, text, indicator, and child_border
client.focused          #bf616a #2f343f #d8dee8 #bf616a #d8dee8
client.focused_inactive #2f343f #2f343f #d8dee8 #2f343f #2f343f
client.unfocused        #2f343f #2f343f #d8dee8 #2f343f #2f343f
client.urgent           #2f343f #2f343f #d8dee8 #2f343f #2f343f
client.placeholder      #2f343f #2f343f #d8dee8 #2f343f #2f343f
client.background       #2f343f
That's my settings of window border colour.
I set the focused window border to white, and unfocused window border to black.
On focused window, the red border means splitting direction.
If the red border is on the right, that means if You launch a new window on that workspace, it will be launched on the right of current focused window.
You can change the splitting direction to bottom using Super + V. If You want to split to right again, hit Super + H.
If You unsatisfied with it, just modify it
That's For Now
I think, this is quite enough for a starter. You can improve it by yourself.
Thanks for reading!
