
AWS EC2 Guide
A step-by-step guide for setting up a linux server with NodeJS, Nginx and Git hook listener.
Web version: http://renancaldas.github.io/aws-ec2-guide
Summary
- Creating the AWS EC2 instance
- Connecting to server and installing NodeJS
- Nginx and configuration
- Git hook listener
- Author
1. Creating the AWS EC2 instance
You should have an AWS registration. They give a free year of VPS server! 😃
-
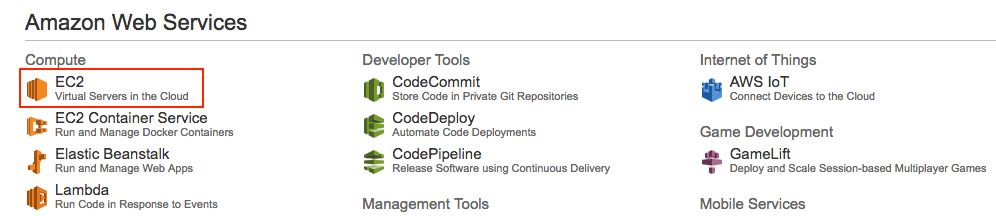
Login into your AWS account and choose EC2 in AWS dashboard:
-
Click in the "Launch Instance" button:
-
Select Ubuntu Server
-
Choose "t2.micro" tier, click on "Review and Launch" button
-
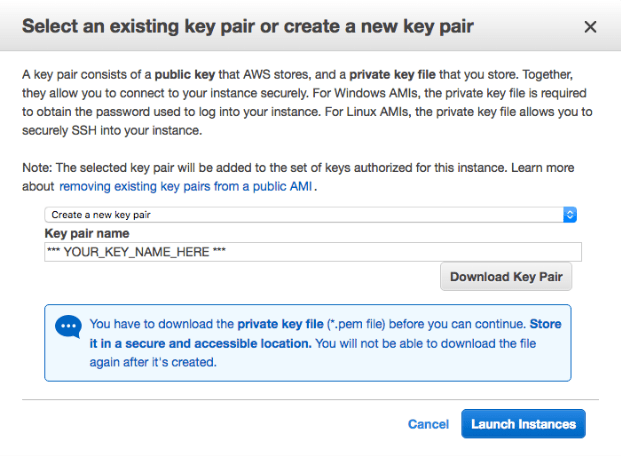
Then click on "Launch" button, which will open a poup asking for a key pair creation. Choose "Create a new key pair", name it, download it and then click on "Launch instances".
-
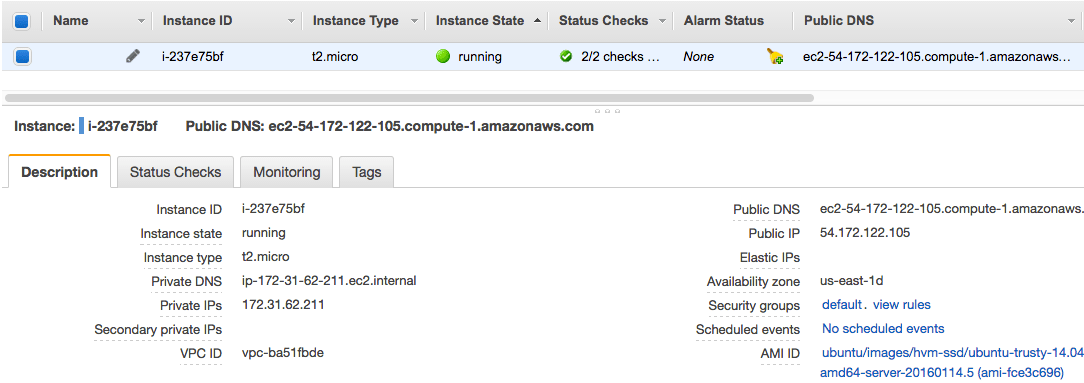
Finally, your server will be initialized! Obs.: Copy and paste the "Public DNS" or "Public IP" in a separated document for further instructions! 📝
-
Next, you should open the some ports in order to expose your server to external requests from the internet. Click on the link close to "Security groups", from the previous picture. Then add the inbound request ports 80, 22 and 443, clicking on "Edit" button, as the follow image:
-
Now you are ready for connecting to your server! 👍


2. Connecting to server and initializing it
I will be using bash commands (Mac or Linux). For Windows, check this out. So I think you should be fine... Please give me a feedback on this.
-
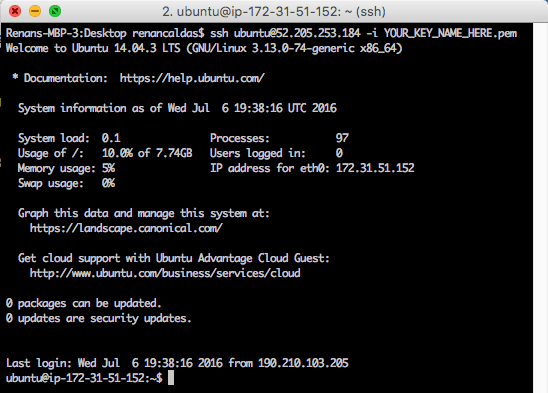
Open terminal and connect via ssh to your server. Obs.: here we need the "Public DNS" or "Public IP" and the key pair file (.pem) mentioned before.
$ chmod 400 [path to .pem file] $ ssh ubuntu@[your server ip or dns] -i [path to .pem file] -
Install NodeJS (in this example, version 6):
$ curl -sL https://deb.nodesource.com/setup_6.x | sudo -E bash - $ sudo apt-get install -y nodejs -
Set npm path to user's home and install packages: PM2, Nodemon, Git:
$ npm config set prefix ~/npm $ export PATH="$PATH:$HOME/npm/bin" $ npm install pm2 -g $ pm2 startup // If show "You have to run this command as root", run the given command! $ npm install nodemon -g $ sudo apt install git -
Store NPM path in user's profile file. This will keep the previous NPM changes.
$ nano ~/.profile // Add these lines at the end: # set NPM path to user's home npm config set prefix ~/npm export PATH="$PATH:$HOME/npm/bin" // Save it using: CTRL + o, ENTER // And exit using: CTRL + x, ENTER -
Store your Git user credentials. This will prevent the login prompt when using Git commands.
    $ nano ~/.netrc

    // And add these lines:
    machine github.com (or bitbucket.org)
    login [YOUR_USER]
    password [YOUR_PASS]

    // Save it using: CTRL + o, ENTER
    // And exit using: CTRL + x, ENTER
3. Nginx
Here we will install Nginx, configure it to router external requests from port 80 (remember that we have open this port before?) to server's local port 3000, which could be a NodeJS application running in this port. We will setup a NodeJS application in next step.
-
First, install nginx:
$ sudo apt-get update $ sudo apt-get install nginx -
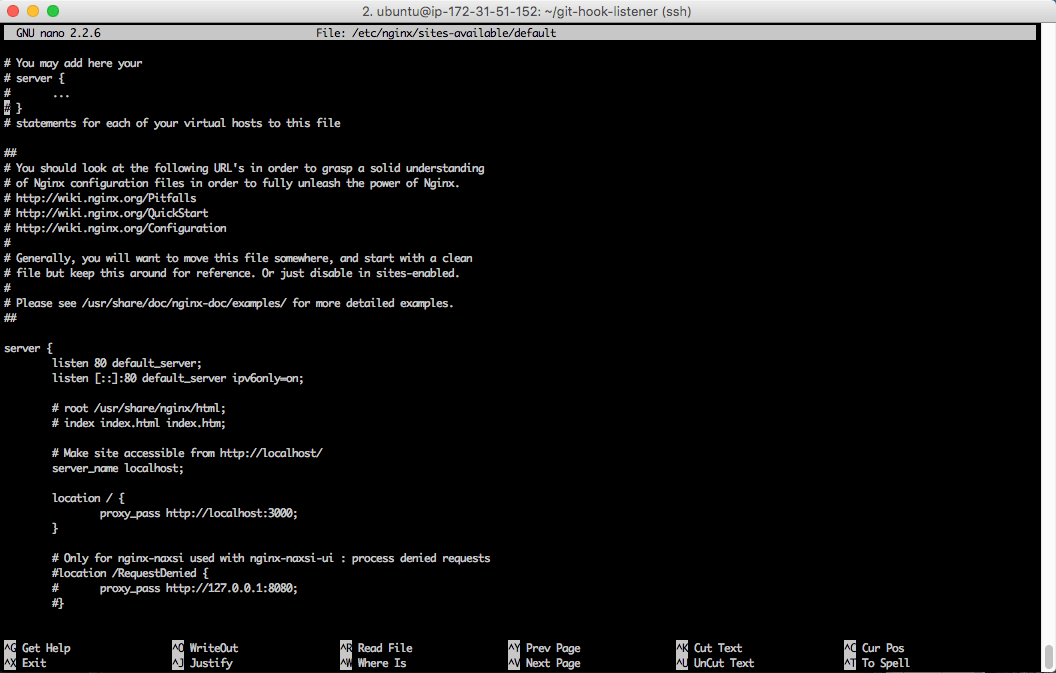
Then we need to edit the config default file in order to forward requests:
    $ sudo nano /etc/nginx/sites-available/default

    // In "server" block, put a # character at these lines:
    # root /usr/share/nginx/html;
    # index index.html index.htm;

    // Clear everything inside "location /" block , and set it like this
    location / {
            proxy_pass http://localhost:3000;
    }

    // Save it using: CTRL + o, ENTER
    // And exit using: CTRL + x, ENTER
It should look like this:
-
And reload Nginx with new configuration redirecting requests from port 80 (http) to local port 3000
$ sudo service nginx restart
4. Git Hook Listener
This is a project that I have done in order to use the continuous deployment concept that automatizes the process of uploading project files to multiple servers and environments. This is a daily used component in the companies that I have worked.
Please continue by reading the step-by-step guide, like this one.
5. Author
Renan Caldas de Oliveira