Passwordless authentication with magic links for Passport.js
- User signup and login without passwords
- Supports magic links sent via email, SMS or any other method you prefer
- User interface agnostic: all you need is an input and a confirmation screen
- Handles secure token generation, expiration and confirmation
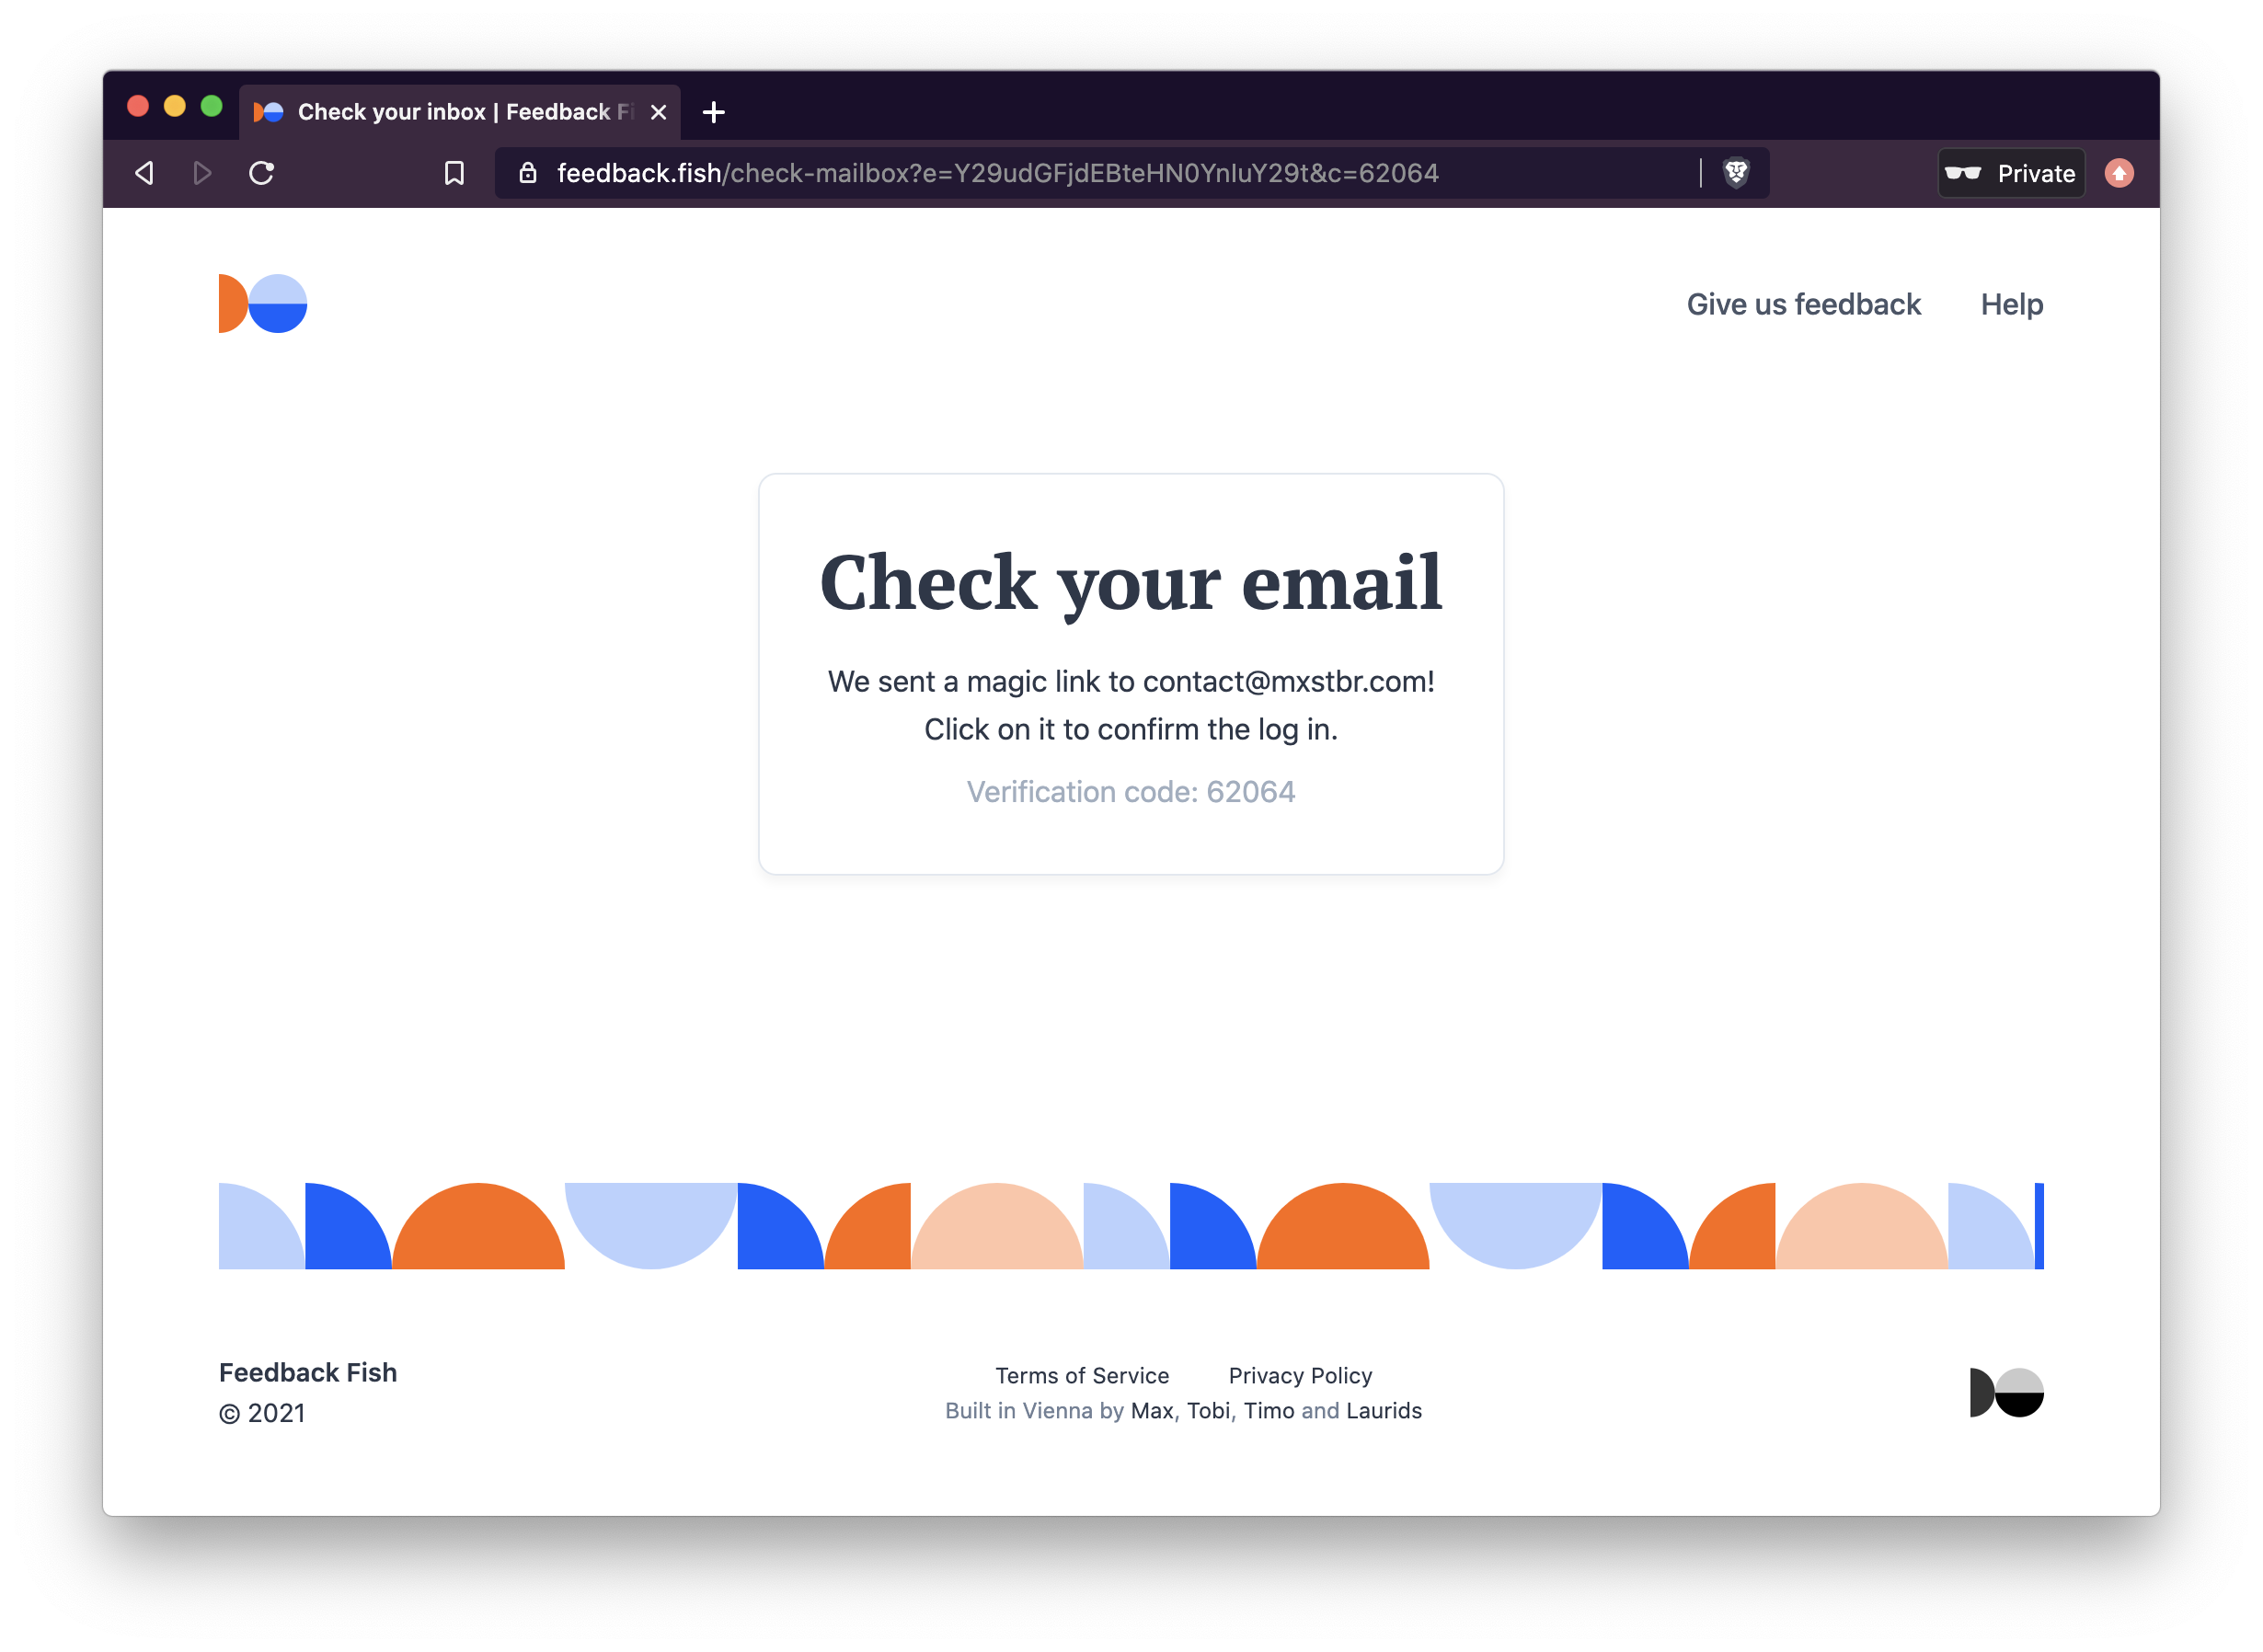
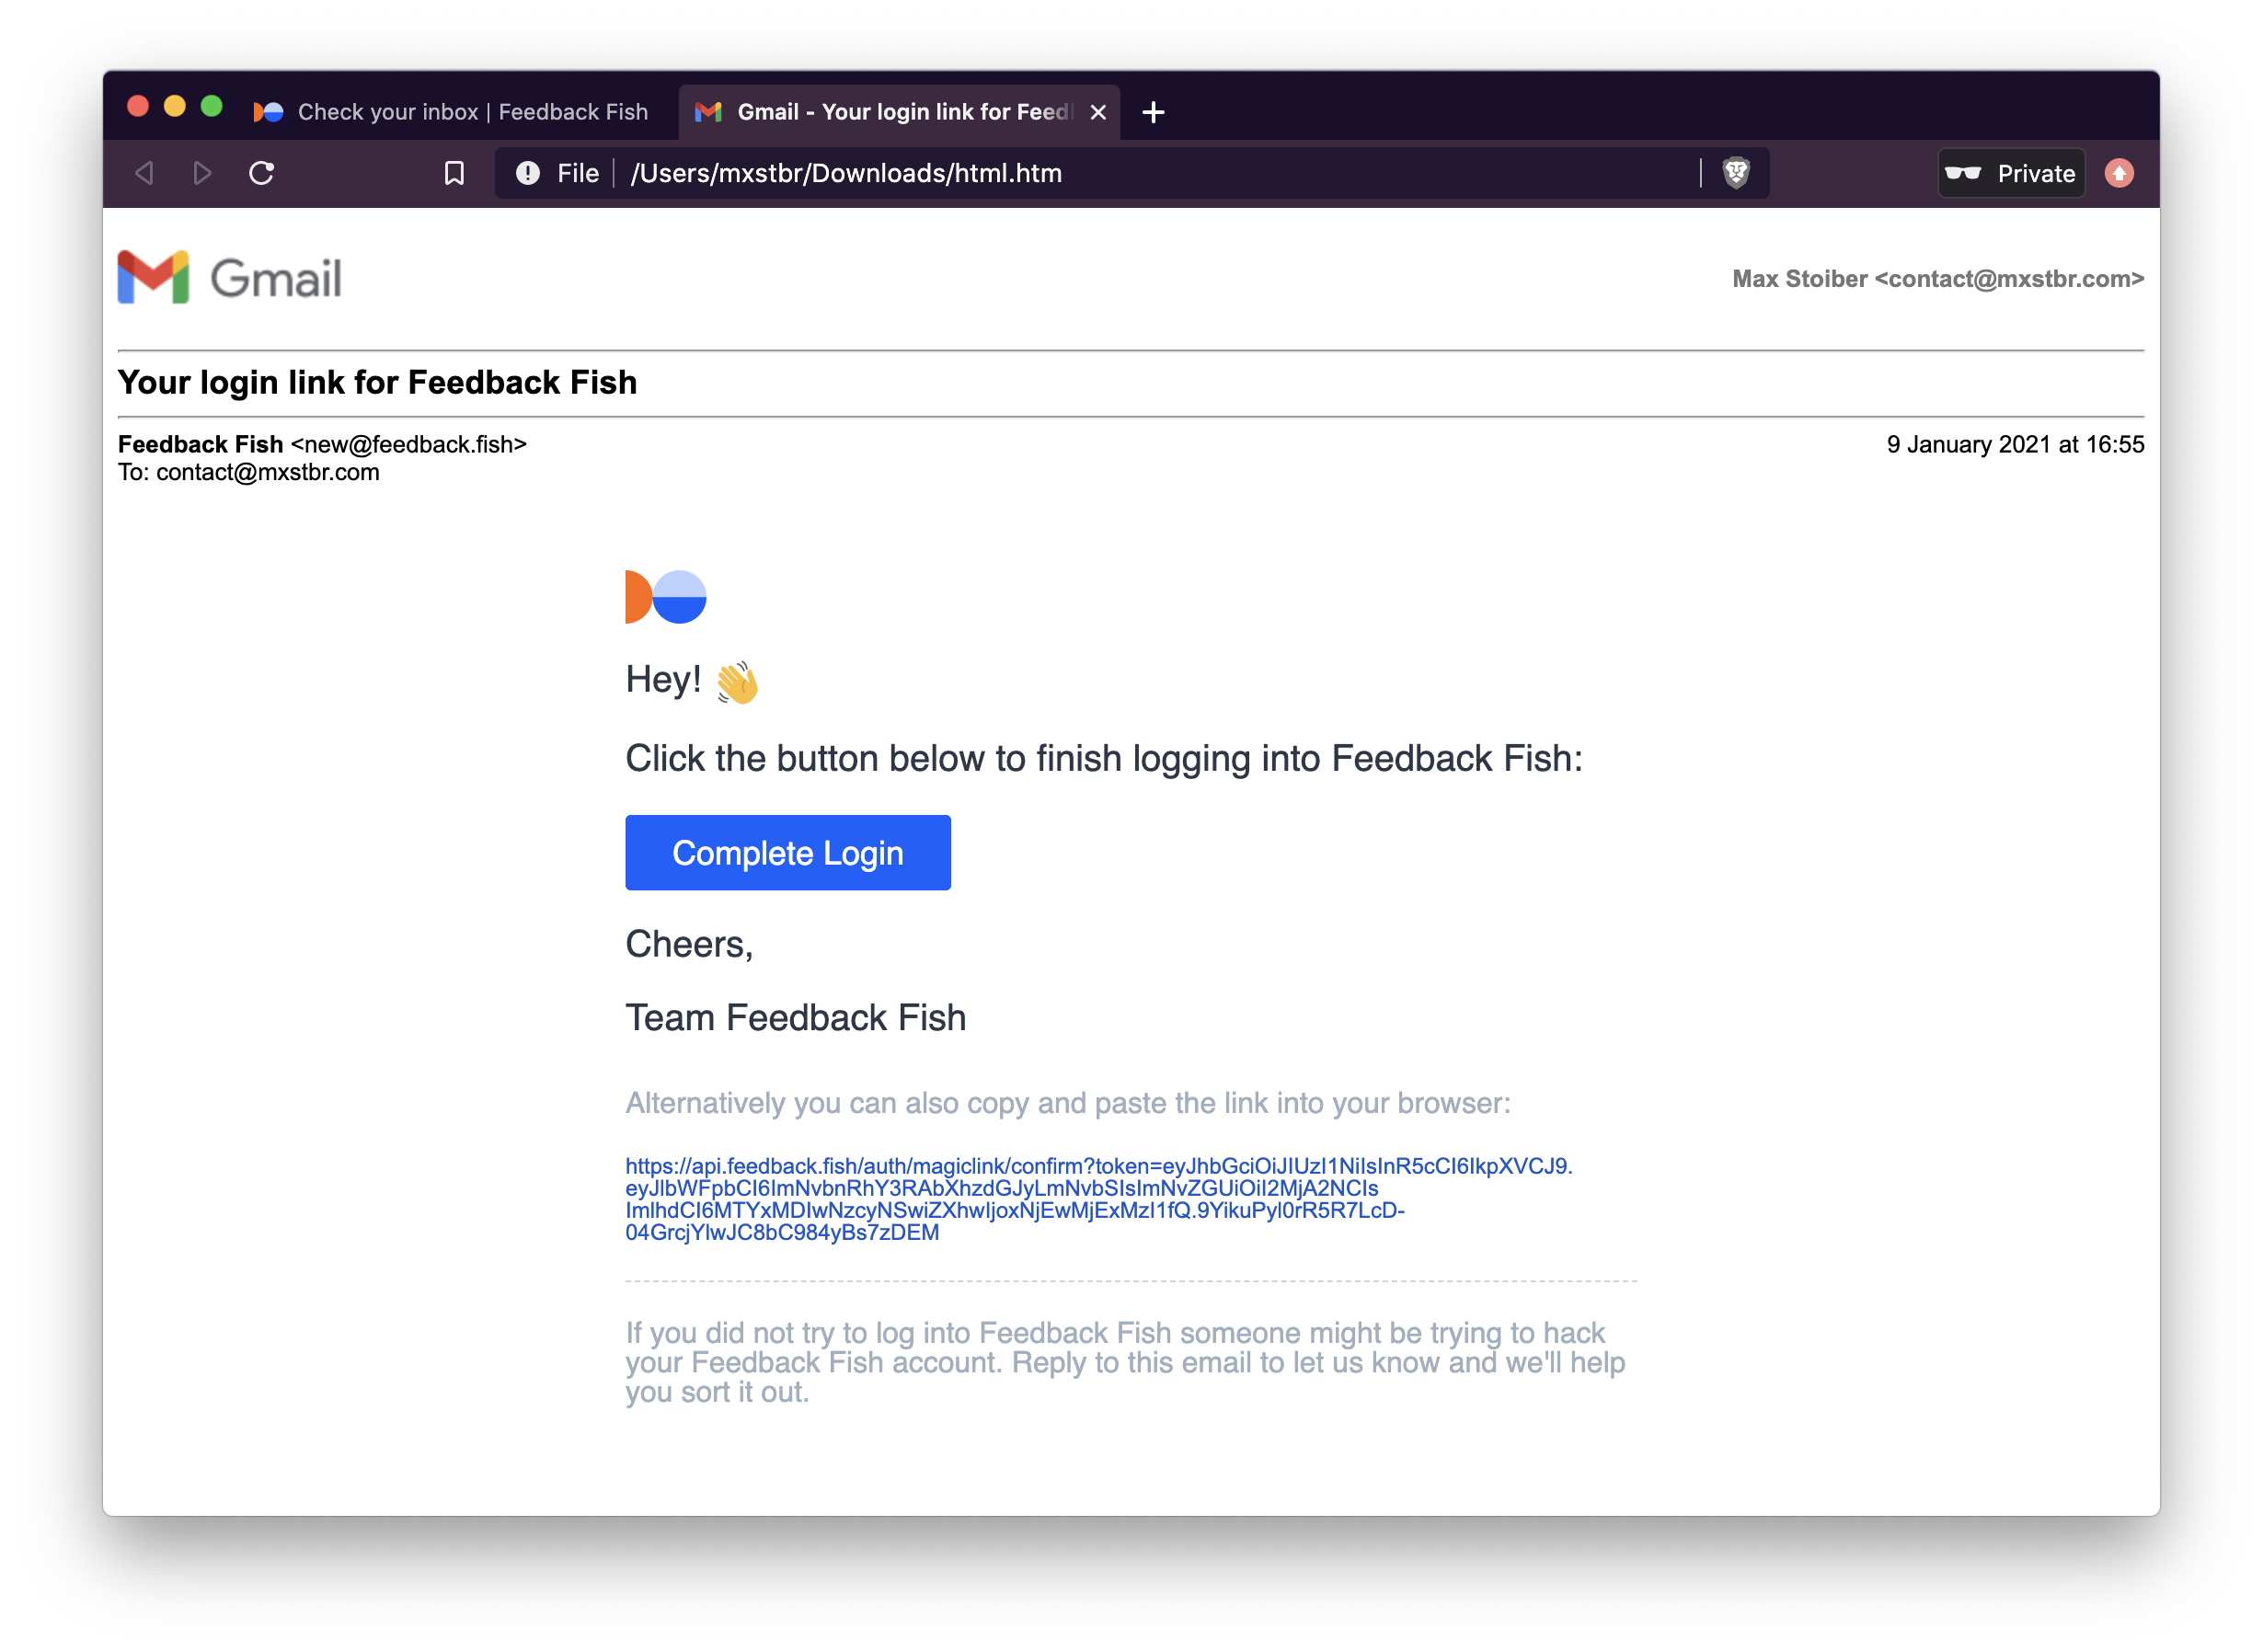
Originally implemented by Tobias Lins for Splitbee and eventually extracted for Feedback Fish:
Usage
To use magic link authentication, you have to:
- Setup the Passport strategy and Express routes on your server
- POST a request with the users email or phone number from the client once they have entered it into the login input
Installation
npm install passport-magic-login
Frontend usage
This is what the usage from the frontend looks like once you've set it all up. It only requires a single request:
// POST a request with the users email or phone number to the server
fetch(`/auth/magiclogin`, {
  method: `POST`,
  body: JSON.stringify({
    // `destination` is required.
    destination: email,
    // However, you can POST anything in your payload and it will show up in your verify() method
    name: name,
  }),
  headers: { 'Content-Type': 'application/json' }
})
  .then(res => res.json())
  .then(json => {
    if (json.success) {
      // The request successfully completed and the email to the user with the
      // magic login link was sent!
      // You can now prompt the user to click on the link in their email
      // We recommend you display json.code in the UI (!) so the user can verify
      // that they're clicking on the link for their _current_ login attempt
      document.body.innerText = json.code
    }
  })
Backend setup
To make this work so easily, you first need to setup passport-magic-login:
import MagicLoginStrategy from "passport-magic-login"

// IMPORTANT: ALL OPTIONS ARE REQUIRED!
const magicLogin = new MagicLoginStrategy({
  // Used to encrypt the authentication token. Needs to be long, unique and (duh) secret.
  secret: process.env.MAGIC_LINK_SECRET,

  // The authentication callback URL
  callbackUrl: "/auth/magiclogin/callback",

  // Called with th e generated magic link so you can send it to the user
  // "destination" is what you POST-ed from the client
  // "href" is your confirmUrl with the confirmation token,
  // for example "/auth/magiclogin/confirm?token=<longtoken>"
  sendMagicLink: async (destination, href) => {
    await sendEmail({
      to: destination,
      body: `Click this link to finish logging in: https://yourcompany.com${href}`
    })
  },

  // Once the user clicks on the magic link and verifies their login attempt,
  // you have to match their email to a user record in the database.
  // If it doesn't exist yet they are trying to sign up so you have to create a new one.
  // "payload" contains { "destination": "email" }
  // In standard passport fashion, call callback with the error as the first argument (if there was one)
  // and the user data as the second argument!
  verify: (payload, callback) => {
    // Get or create a user with the provided email from the database
    getOrCreateUserWithEmail(payload.destination)
      .then(user => {
        callback(null, user)
      })
      .catch(err => {
        callback(err)
      })
  }


  // Optional: options passed to the jwt.sign call (https://github.com/auth0/node-jsonwebtoken#jwtsignpayload-secretorprivatekey-options-callback)
  jwtOptions: {
    expiresIn: "2 days",
  }
})

// Add the passport-magic-login strategy to Passport
passport.use(magicLogin)
Once you've got that, you'll then need to add a couple of routes to your Express server:
// This is where we POST to from the frontend
app.post("/auth/magiclogin", magicLogin.send);

// The standard passport callback setup
app.get(magicLogin.callbackUrl, passport.authenticate("magiclogin"));
That's it, you're ready to authenticate!
License
Licensed under the MIT license. See LICENSE for more information!


